
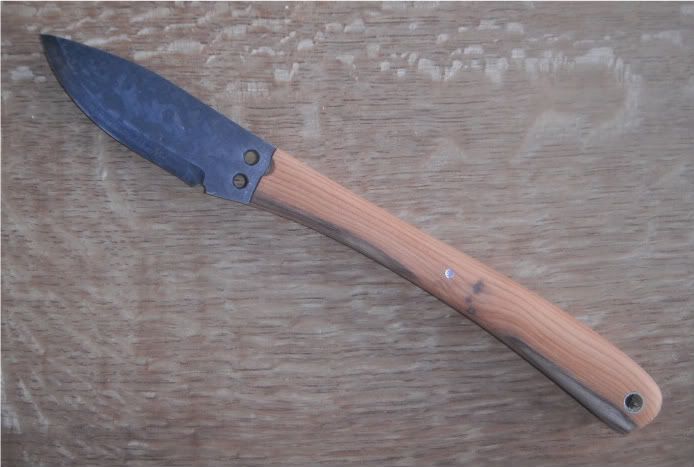
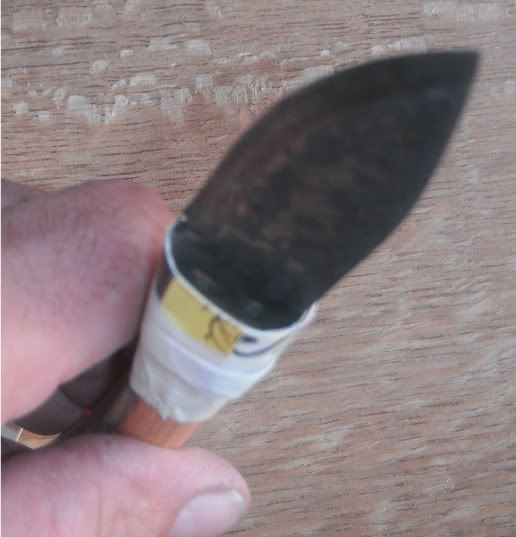
This is the knife I am going to use to make the bolster.
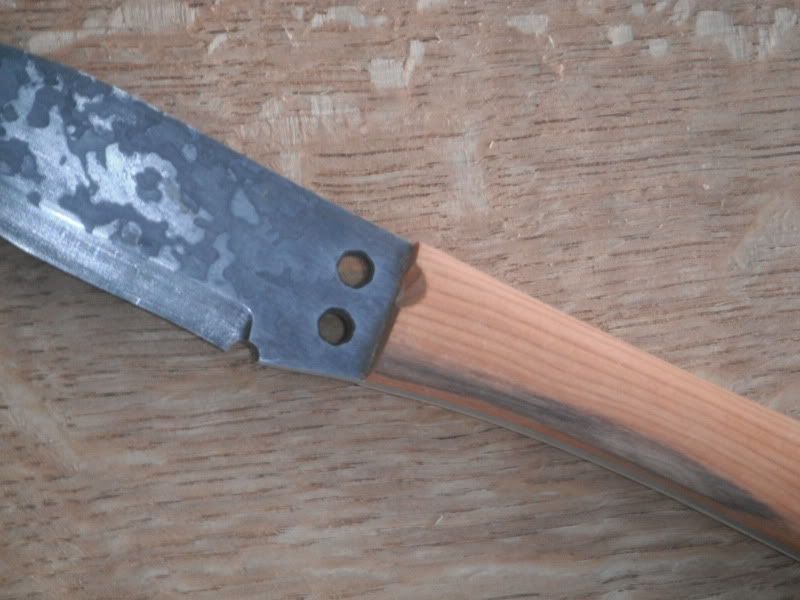
The two holes in the blades are there to anchor the pewter bolter onto the blade. You can see the 1/2 round scallop on the wood part of the handle, this is both to look nice and to hold on to the wood handle. It could be said the holes in the blade will weaken it, but I think the bolster pewter compensates for that.
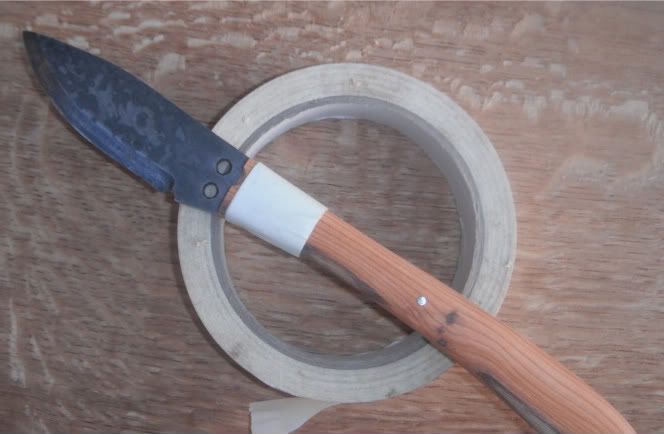
First thing to do is to wrap about 10 turns of masking tape around the handle below the 1/2 round scallop. This compensate for the slight shrinkage when the pewter cools down.
Next, I cut a strip of thin cardboard, the sort of stuff you find on a breakfast cereal box. I wrapped it around the handle, with the top about where I wanted the pewter to end. Then I used masking tape to secure the cardboard to the handle.
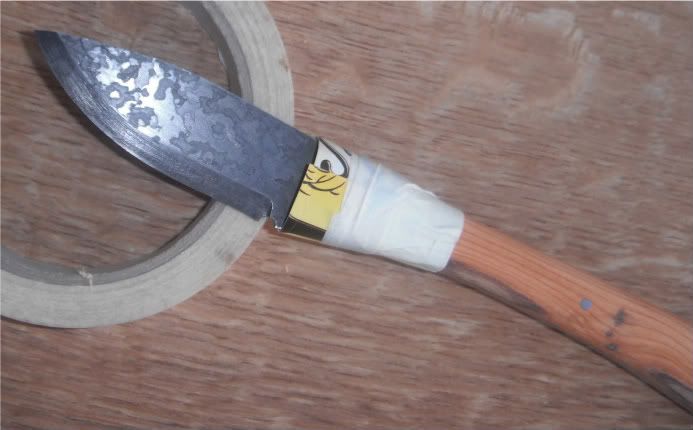
A (poor) view of the well into which the pewter is going to be poured.
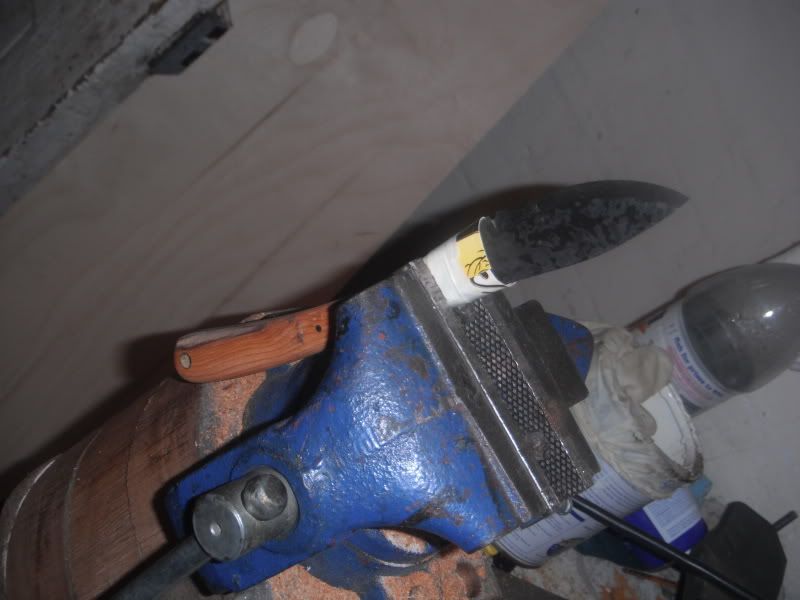
The knife being held in the vice, ready for the pewter to be poured.
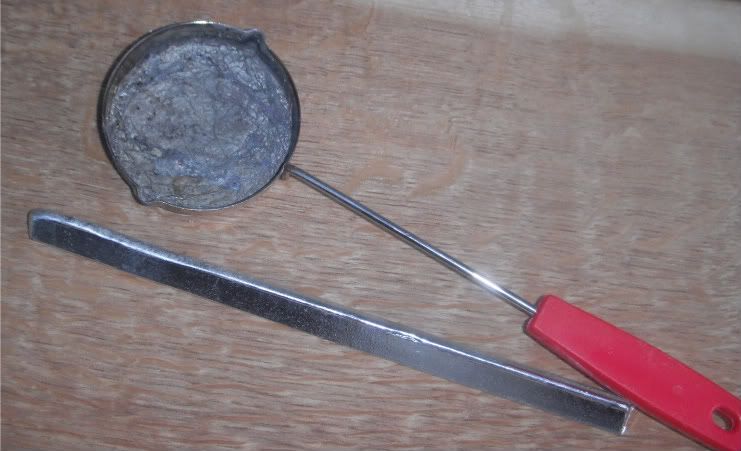
This is the ladle I bought for pouring the pewter. It's not particularly good. Basically, I find it too small and the spouts are also a bit on the short side. It would have been better and cheaper to use a small tin/can and bend a pouring spout onto it. Also on the pic is a bar of pewter. I tried to find some pewter pots and such in second hand shops, to no avail unfortunately, so ended buying some. On the plus side, it's pretty pure pewter with little lead in it.
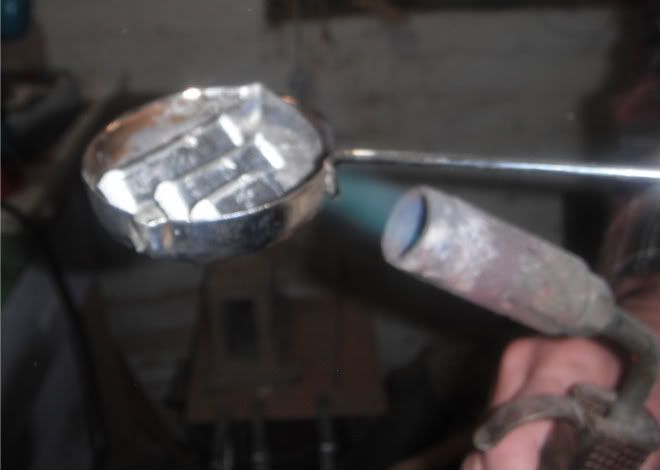
The pewter, chopped up into the laddle and being melted with a blow torch. I made sure to heat it up well, to give a little more pouring time, as it hardens very quickly. Also it is worth warming the blade up, I used a hot air gun. This also add a bit more time, and helps the pewter stick to the blade better. Then I quickly poured the molten pewter in one smooth move into the cardboard well. I was careful here: the molten pewter is VERY hot, and it will spatter droplets all over the place if it fall onto the floor. Not a good idea to do it wearing open toe sandals! Also it is important to make sure everything it completely dry. If there is any moisture anywhere when the pewter is being poured, it will sort of explode all over the place. It is not a good idea.
The cooled pewter bolster, fresh out of the cardboard.
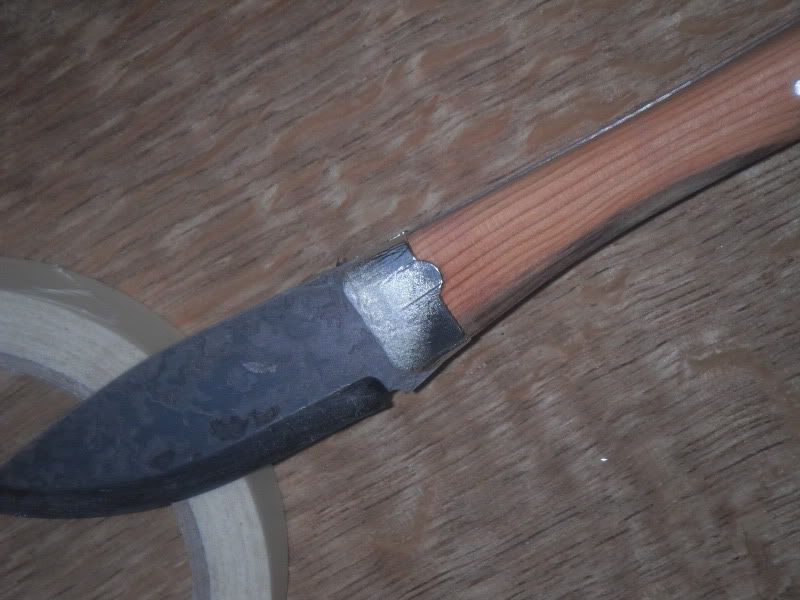
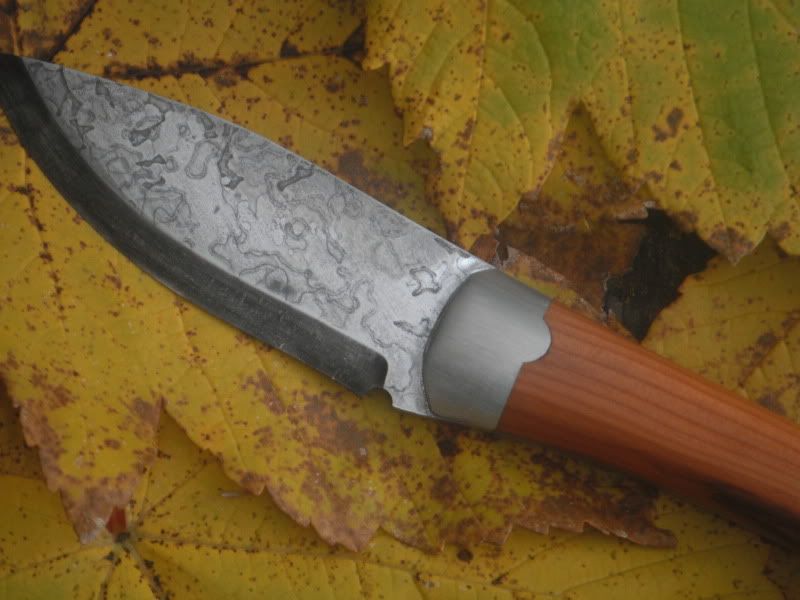
Finally, a picture of the finished bolster. The pewter bolster is easy to finish with hand files and increasingly finer wet/dry sand paper.
Thanks for giving me permission to add this tutorial to my Blog Joel,much appreciated Brother.
ReplyDelete