There are many different type of carving knives with curved blades. People seem to call anything with a curved blade a
crooked knife.
The proper
Crooked Knife or, to give it it's Native American names, the
Wagikoman, Mocotaugan, Mukutakan,
Bikahtagenigan, Couteau Croche, appear to have originally been a Native American tool made using beaver teeth and, most probably other material such as stones. Later, when white people turned up uninvited, taking over the show and bringing many unwanted things, they also brought steel with them. Presumably because steel is stronger than beaver's teeth, (I assume, having never used a beaver's tooth, to make a knife, I wouldn't mind trying to make one, if someone out there has any beaver's teeth to spare!) the crooked knives acquired steel blades.
Depending on what you read, the word
crooked refers to the shape of the handle rather than the blade, but other texts assert the name refers to the shape of the blade and not to the handle.
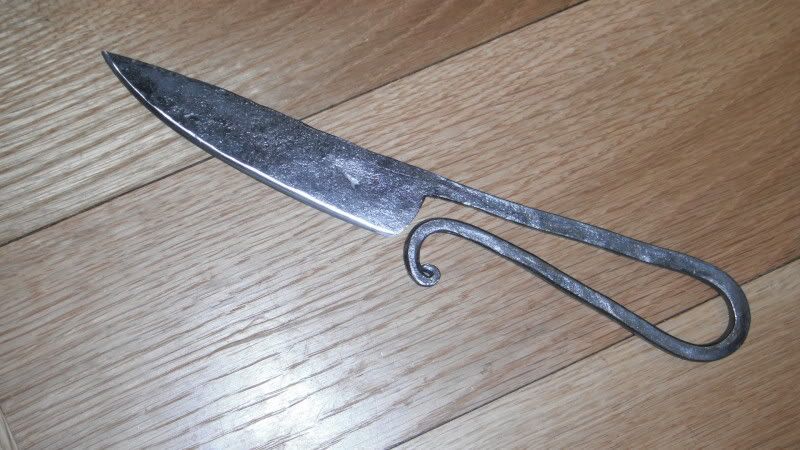
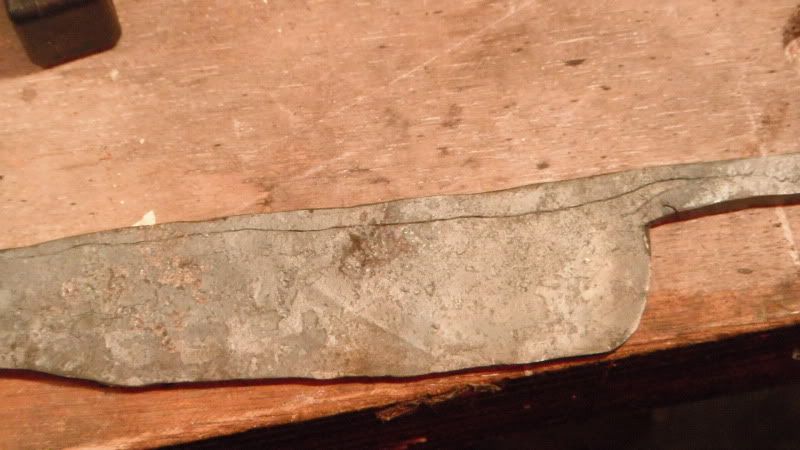
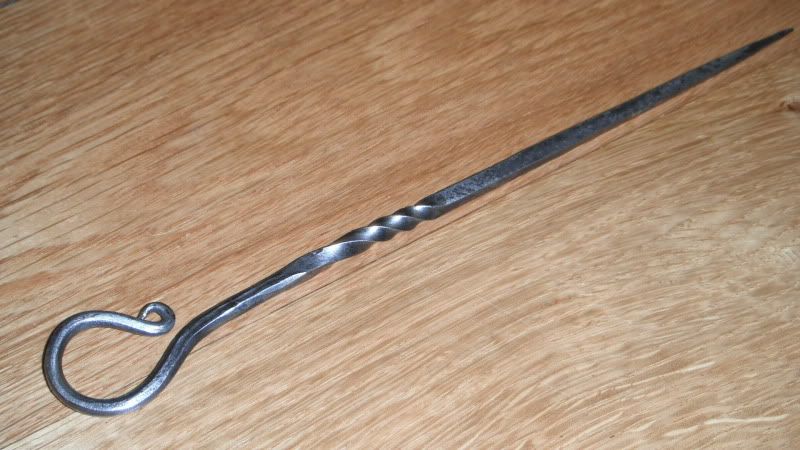
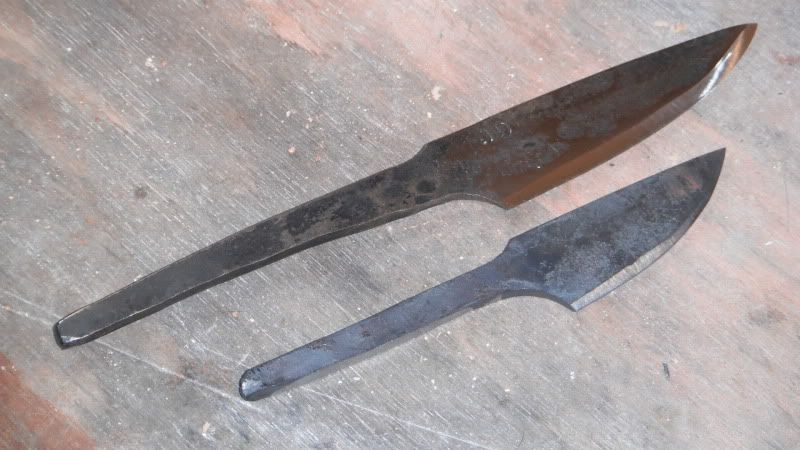
So to me, a Mocotoguan is a tool like this:
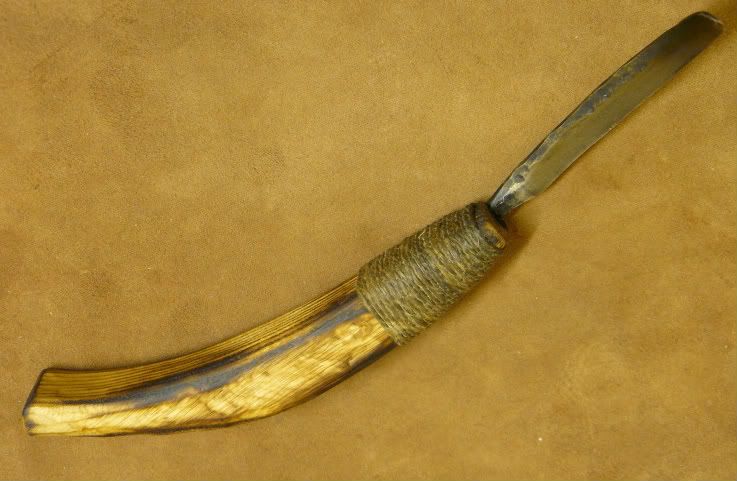 |
| Mocotoguan with forged blade |
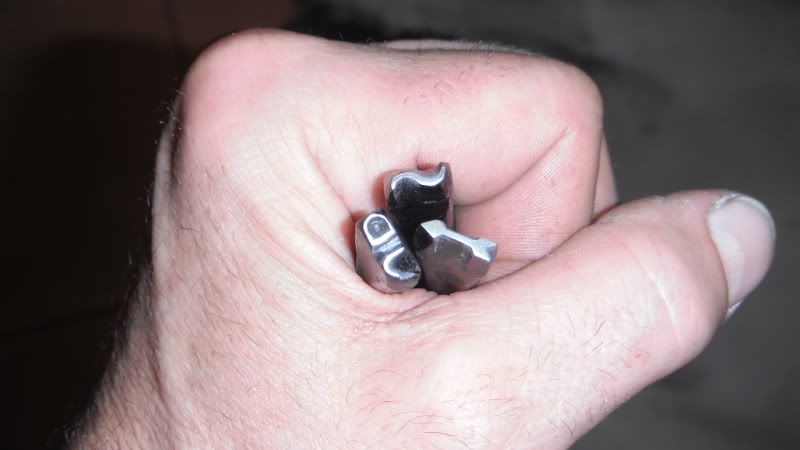
And you hold it like this:
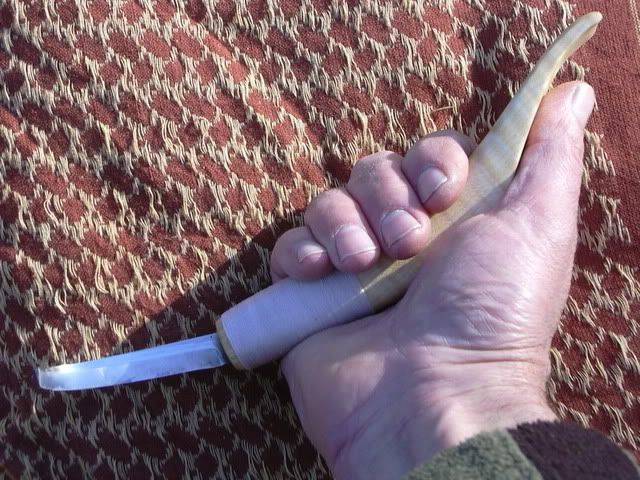 |
| Holding a right-handed crooked knife |
It is a very versatile tool, and was used primarily to work green woods, rather than dry woods.
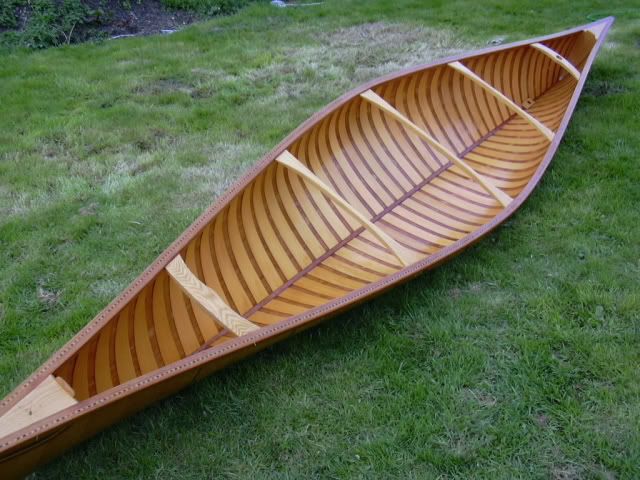
Apart from an ushtashku (axe), one can think of no other tool as important to the Innu hunter as the mukutakan (crooked knife). This multi-purpose knife was used to shave thin planking and ribs for canoes and toboggans, make stretching boards to dry furs, carve wooden dolls for the children, fashion snowshoe frames and drums, and many other objects out of wood...
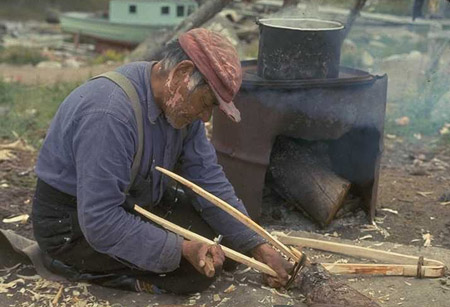 |
| Using the crooked knife |
Another of the characteristics of this tool is that you pull it towards you, rather than pushing it away from you. It is more akin to using a draw knife, albeit a one-handed one. Native Woodsmen didn't carry a bench or a vice in the woods with them, so they held the piece to be worked in one hand and then held the knife in the other hand. A obsession with Health & Safety has conditioned people to worry about pulling a sharp blade towards themselves, in fear of cutting themselves open. If you hold the Mocotogan correctly, hold your elbow against your side and work green wood as was intented, there is no more reason to cut yourself than with any other tools.
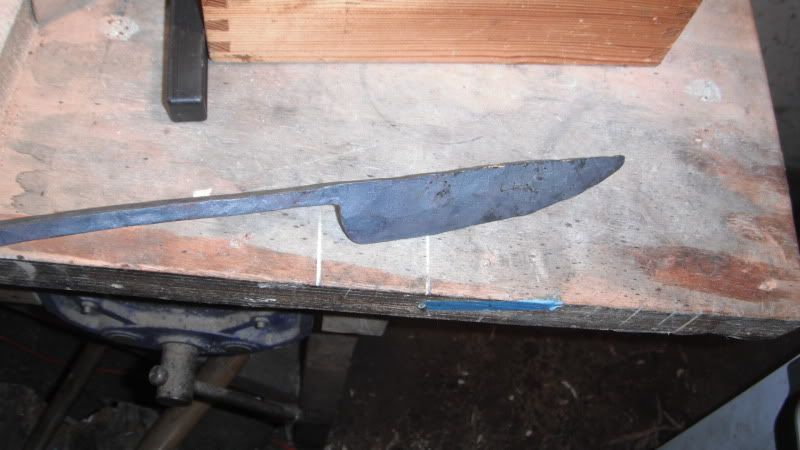
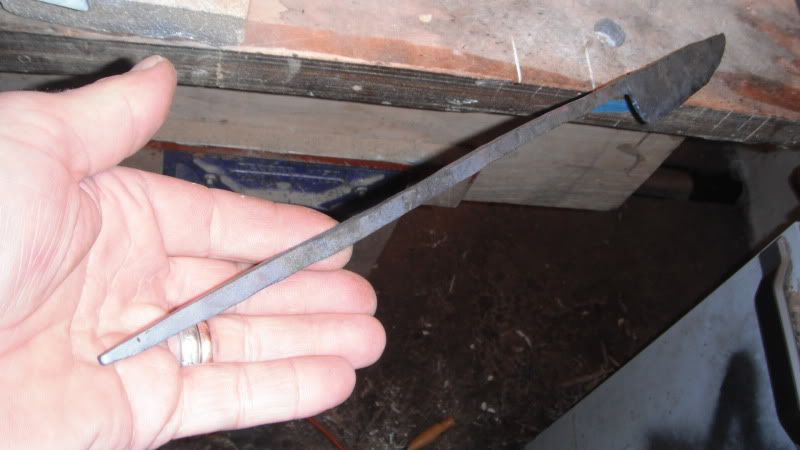
The blades can be many shapes and sizes, from a straight blade, sticking straight out of the handle, to a curved blade with compound angles . From my own experience, the curve at the end of the blade is there more to prevent digging into the work with the tip rather than to be used for hollowing . It can be used for hollowing, but I don't think this was the entended purpose for the majority of the knives. Again from my own experience, I believe the blades need to be thick enough not to bend.
Other curved blade knives.
There are other curved knife blades available, and I have seen most of them called crooked knives, though they definitely are not.
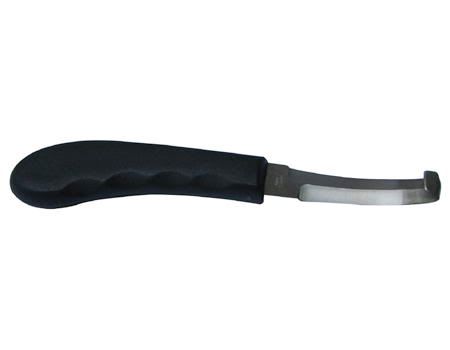 |
| Hoof knife, as used by farriers |
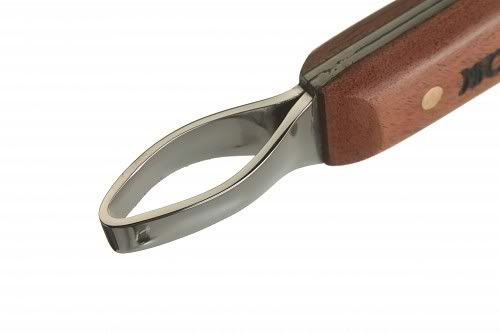 |
| Loop knife |
|
|
 |
| The good old Mora spoon knife |
|
|
|
|
|
|
|
|
|
|
|
|
|
|
|
|
|
|
|
|
|
|
|
|
|
|
|
Then, there are the carving blades made by
Kestrel Tools. These are high quality, I would almost say dainty, carving tools blades. They are
carving knives blades rather than
crooked knives.
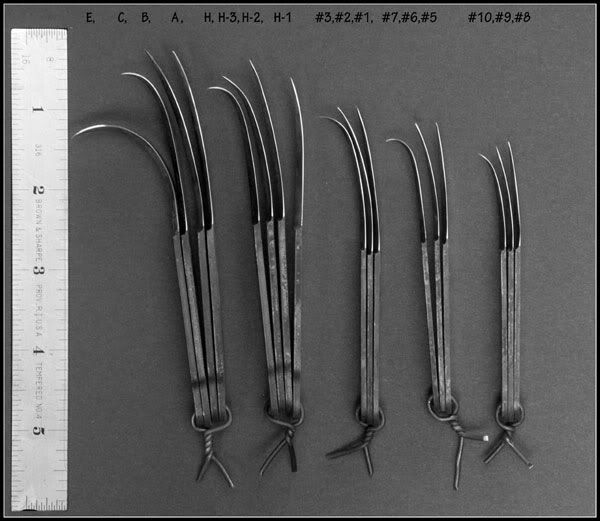 |
| Complete set of Kestrel's carving blades |
Of course, a crooked knife is a very versatile tool. It's not just wood you can use it on!
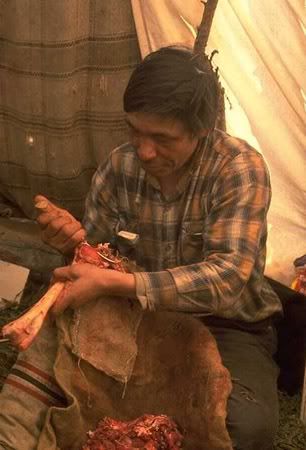 |
| Removing meat from a bone |
In my view then,
it's horse for courses . Spoon knives for hollowing, curved carving blades for carving, hoof and loop knives for horses' feet.
So then, crooked knife for all purpose green wood work, or for dry softwood.
So, in my (not humble or apologetic at all!) opinion the Crooked knife is, and deserves to be
the true
, versatile, Bushcraft knife.